background

Tuesday, April 5, 2011

French Baguettes

Contributed by Jennifer Anderson.  Thank you!


Jennifer is my go-to gal for use on the Silform High-Sided Bread Tray.  She's been there to answer all my questions!  I finally ordered myself a tray so I could stop bugging her...but have yet to use it.  She made this fantabulous french bread for her AMAZING show a couple weeks ago, but we failed to preserve the beauty of the bread on film (or I should say digitally).  Until I can pretend to be an incredible french bread maker like Jennifer, and actually take a picture of it, just close your eyes and imagine beautiful, golden, steaming hot french bread fresh from the oven.  Yummmm!!  Here's her recipe (she uses a bread maker machine to mix the ingredients):


French Baguettes

2 Cups Water 80 degrees F 
2 tsp Lemon Juice    
5 Cups Bread Flour (you can mix half whole wheat with white)
2 tsp salt
2 TBL sugar
3 tsp active dry yeast
Wash:
2 egg yolks
2 TBL Water

Place ingredients in bread pan in order listed (not the wash - it is to be brushed on the formed dough loaves prior to baking).  Use Dough Setting and press start.  When complete remove dough from bread pan.  Divide dough into sections (based on your bread mold size).  Roll dough sections out individually into rectangles.  Roll up up tightly, jelly-roll style, starting at the short side.  Shape into a loaf.  Place on the bread mold.  With a sharp knife, make 3 to 4 diagonal slashes across loaf.  Cover and let rise in warm, draft-free place, 30-40 minutes, or until doubled in size.  Brush combined Wash ingredients over top of loaf.  Bake in preheated 375 degree F oven 20 to 30 minutes, or until golden brown.  Yields 3 medium loaves, 4 slim loaves, or halving the recipe-one round loaf.

UPDATE:  While visiting my parents over Spring Break, I made some French Baguettes and remembered to take a picture!  Yay!  I think my first shot at the bread was decent, but they definitely didn't look as fantastic as Jennifer's!  At least you don't have to use your imagination now.  And by the way, they tasted great!  I probably ate one loaf all on my own.  I shouldn't admit to that.


Friday, March 18, 2011

Rice Casserole


I was consolidating my recipes the other day and I came across this recipe for what I call Rice Casserole.  This recipe takes me back to my childhood.  My best friend's mom used to make this and I was always so excited when I got to eat dinner at her house and she was serving rice casserole!  It was my favorite so I got the recipe and had my mom start making it.  When I got married and tried the recipe on my husband, he didn't like it so much, which made me very sad.  I stuck the recipe in a book (and in the far reaches of my brain) and haven't made it in years.  I have to admit, as I was making this last night I wondered why I liked it so much - it's very simple, which is great, but I don't really like peas and I really don't like bacon bits.  Alas, when I took that first bite it all came back to me.  YUM!  My son turned his nose to it and my husband quickly poured himself a bowl of cereal and tried to make me think he didn't see it sitting on the stove when he got home.  When he did finally eat some (probably out of guilt), he even admitted that it wasn't as bad as he remembered.  So, try it or not.  I love it and could eat the whole pan by myself.  I love to make it because it's one of the easiest dishes to make.  I'm not sure where it sits on the nutrition scale, but it's got your veggies, protein and carbs, right?  haha!  The key is the cheese - make sure you have enough cheese!  I made this in the Large Round mold and this was another dish that the serving spoon was harder to clean than the mold - I love that!

Rice Casserole  (recipe from Bette Gibson)

1 cup long-grain rice
1 cup water
2 cans peas (undrained)
bacon bits (however many you'd like..maybe 1/4 cup)
cheese (cheddar or jack - about 1-2 cups)

Just dump all the ingredients in your mold, stir a little if you'd like.  I mixed in some cheese and also topped with cheese before baking.
Bake for 1 hour, uncovered, in 350' oven.

Peanut Butter Cup Cake Revisited

Remember that Peanut Butter Cup Cake I didn't have a picture for?  Well, I actually made the cake a second time and we used it to surprise a hostesses daughter at her show, who was celebrating a birthday the following day.  Her gift was the Fluted Bundt mold - lucky girl!  The show was a blast and Amy even agreed to let me post a picture of her!  Thanks Amy!

Friday, February 25, 2011

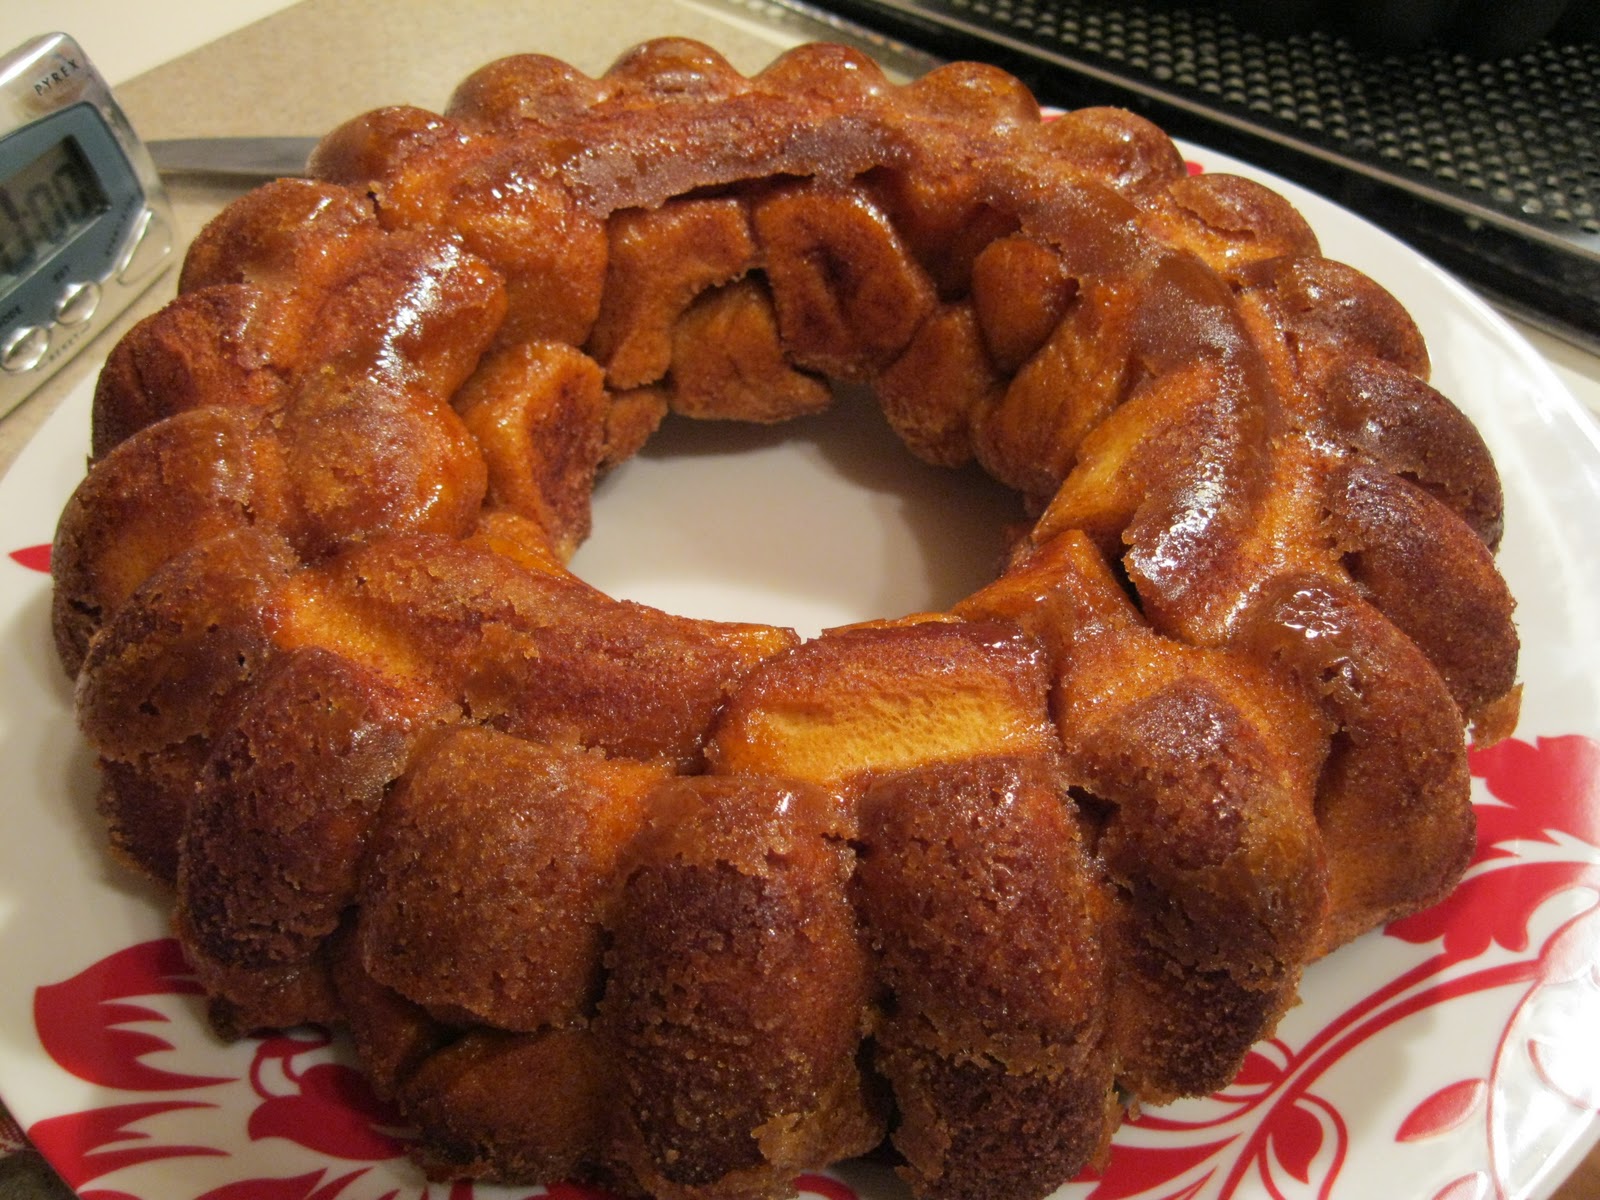
Monkey Bread

It was a great coincidence that the day after I was chatting with some friends about making monkey bread, I noticed my friend's post for monkey bread on her blog.  I halved her recipe but should have cut the baking time a little more as well because mine got a little crispy around the edges (I can't remember exactly how long I had it in, but I would check it around 30 min).  (Of course, don't butter your Flexipan!)  It was still yummy, although I must say, it was missing something from the monkey bread my mom used to make (maybe all the under-done sticky goo).  ;)


Wednesday, February 23, 2011

Fun Cupcakes!

Contributed by Brenna Hansen
Mix up your basic white cake mix.  Fill Muffin tray (or decorative tray of your choice) 1/3 full with white cake batter.  Color remaining batter a light pink and put half into a pastry bag (or ziplock bag).  Color the remainder of the batter super dark pink, then put that batter into another pastry bag (or ziplock).  Cut off tip of ziplock bags, if using.  Insert tip of first bag down into the middle of the white batter and squeeze about a quarter size in the middle.  Repeat with the darker color to fill the tray 2/3 to 3/4 full.  LOVE these! You can do it with any colors for any holiday!  I also like to add a flavor to the colored mix when I have it on hand... raspberry oil, chocolate, etc.  Mix it up!

Thanks Brenna!!

Wednesday, February 16, 2011

Pizza! Pizza!

Contributed by Brenna Hansen


My sister-in-law made Weight Watchers pizza on her Silpat.  She enjoyed the pizza one day, and enjoyed washing the Silpat the next.  She said that even after the baked on cheese had sat overnight, it still came right off!  

As a side note - I've also made pizza on my Silpat.  I used the Demarle herbed pizza dough and it was MMmmm good!!  So good I bought lots more to use next time...and the next..!  Typically when I make homemade pizza I have to bake the crust first for 15-20 minutes so it's not gooey in the middle once I put the toppings on.  With the Silpat and Perforated Baking Sheet, I put my toppings on unbaked dough, and after it had baked the crust was fabulous!  Completely baked all the way through with a nice browned bottom.  Yummy!

Back to Brenna... she even made us a video!!  Thanks Brenna!!


Related Posts Plugin for WordPress, Blogger...